Cutting and welding steel container walls requires the right tools, safety gear, and structural knowledge. This guide covers preparation, execution, and verification steps to ensure a safe and durable container modification for steel container building projects.
- Always verify the original structural role of the wall panel before cutting.
- Use the correct cutting method for the steel thickness to prevent heat damage.
- Welding must follow proper joint preparation and filler selection for the steel grade.
- Post-modification inspection is required to confirm structural integrity.
- Local building codes and permits may apply to any container modification.
Why Structure Matters Before You Cut
A steel container is not a collection of independent panels. The walls, floor, and roof work together as a single box. Cutting a hole in a wall weakens the local structure, and welding changes how that load moves through the frame. If you treat a container like a hollow shell of separate sheets, you risk cracking, warping, or a loss of load capacity.
Before any container modification begins, identify the container type. A standard 20-foot or 40-foot container has corrugated steel walls, usually between 2 and 3 millimeters thick. The vertical ribs carry most of the lateral load. Cutting across a rib changes the load path. Cutting between ribs is safer but still requires reinforcement. The roof and floor beams are also structural. Never cut a corner column without replacing it with a properly sized steel angle or tube.
This guide focuses on wall modifications. It assumes the reader has basic welding and cutting knowledge. It does not cover roof, floor, or corner column work, which requires professional engineering.
Tools and Materials You Need
The right tools prevent damage and injury. For cutting, a plasma cutter works well for steel up to 10 millimeters. A jigsaw with a metal-cutting blade is useful for small holes. An angle grinder with a cutting disc can remove small sections, but it is less precise. For welding, a MIG or TIG welder is standard. A MIG welder is faster and more forgiving. A TIG welder gives cleaner joints but is slower.
You will need a wire brush, a chipping hammer, and a file to clean the cut edges. Welding prep requires a grinder set with a flap disc, which removes rust and paint down to bare metal. The filler rod must match the steel grade. Most containers use low-carbon steel, so a mild steel ER70S-6 or E6013 rod is typical. Check the manufacturer documentation if you have it. If you do not, assume mild steel and use a compatible rod.
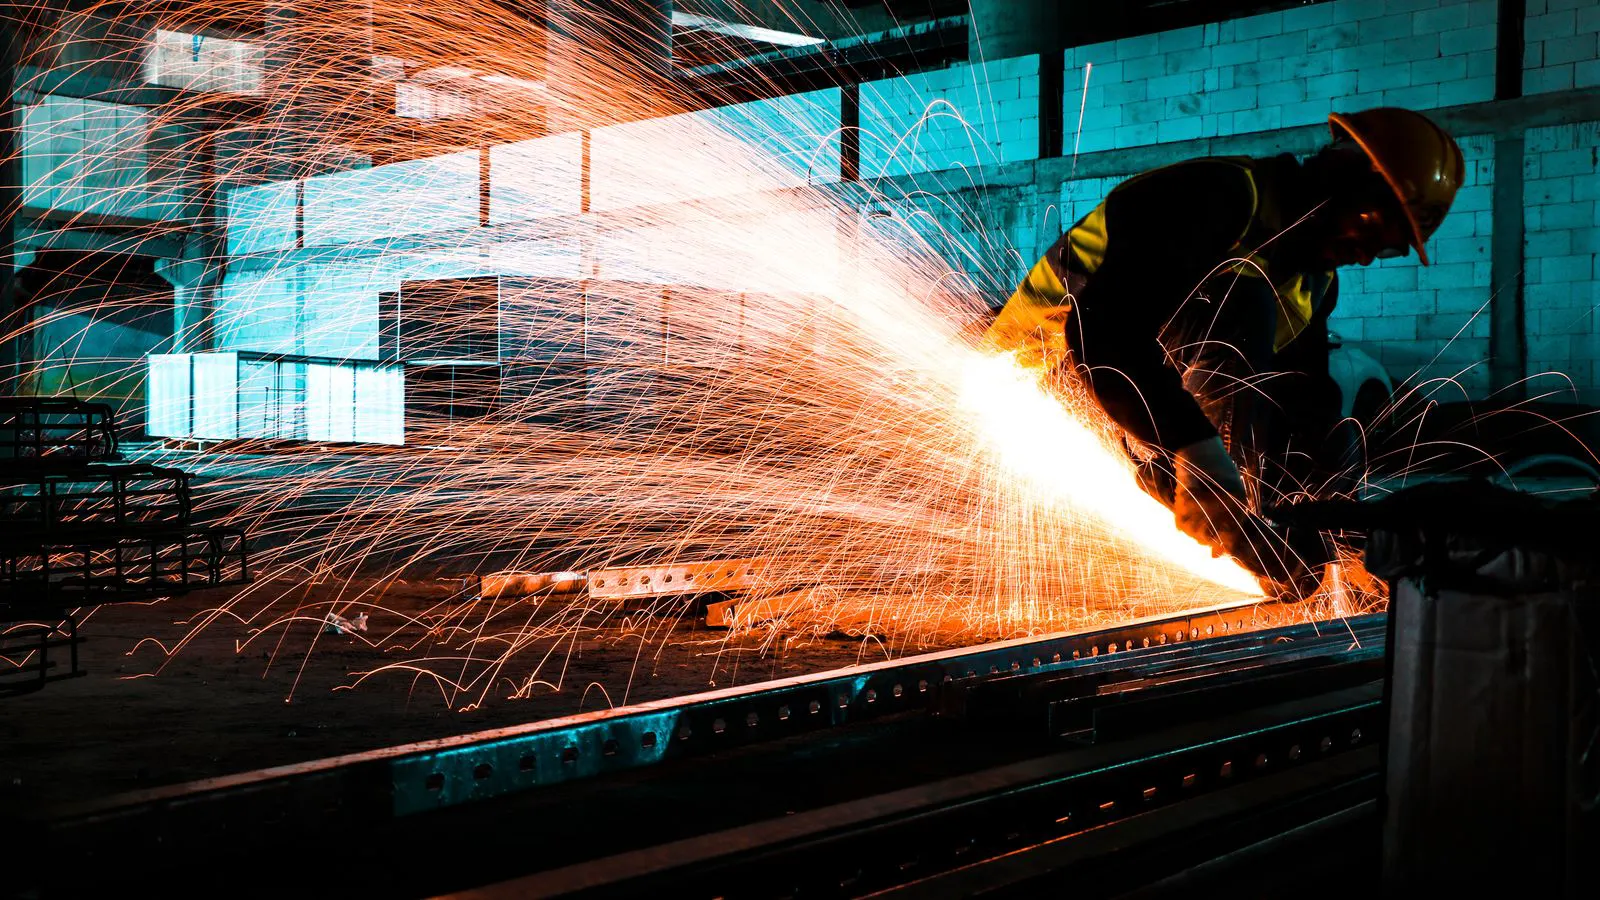
Personal protective equipment is non-negotiable. Wear a welding helmet with an auto-darkening lens, leather gloves, long sleeves, safety glasses, and steel-toe boots. Cut and grind with a respirator, because the fumes from painted steel are harmful. The fumes from cutting or grinding painted steel are harmful. Use a respirator rated for metal fumes.
Step-by-Step Cutting Process
The cutting process follows a specific order. Each step has a reason. Skipping a step risks injury or structural damage.
-
Mark the cut line. Use a straightedge and a marker. Mark both the inside and outside of the wall. The reason is accuracy. A crooked cut wastes material and weakens the joint. If the hole is for a door or window, mark the frame location first.
-
Drill relief holes at the corners. Use a 6 mm or 8 mm drill bit. The reason is to prevent the cutting disc from jamming or binding. A binding disc can kick back and cause injury. It also prevents the disc from catching on the edge.
-
Cut the outline. Use a plasma cutter or a jigsaw. The reason is to follow the marked line precisely. A plasma cutter produces a clean edge. A jigsaw is better for small holes. Keep the disc or blade at the correct angle. A tilted cut changes the hole shape.
-
Remove the cut section. Cut the section into small pieces. The reason is control. A large section can fall and crush your hand. It can also damage the surrounding steel.
-
Clean the cut edges. Use a grinder with a flap disc. The reason is to remove burrs and rust. Welding on rusted or burr-ridden edges creates weak joints and spatter.
-
Inspect the cut area. Check for cracks or distortion. The reason is to catch damage early. If the steel has warped, it may need to be straightened before welding.
Step-by-Step Welding Process
Welding after cutting requires preparation. The joint must be clean and properly fitted. The welder must use the correct settings for the steel thickness.
-
Fit the reinforcement. If you are adding a steel angle or channel to reinforce the cut, fit it in place. The reason is to check the alignment before welding. Misaligned reinforcement transfers load unevenly.
-
Clamp the joint. Use welding clamps or weld tabs. The reason is to prevent movement during welding. Movement causes porosity and weak welds.
-
Set the welder. For a 2 mm to 3 mm steel plate, use a low amperage setting. The reason is to avoid burning through the steel. Start with a low amperage and increase if needed. A TIG welder uses a lower amperage than a MIG welder.
-
Preheat if required. For thicker steel or in cold weather, preheat the joint to about 50 degrees Celsius. The reason is to reduce cracking. Preheating slows the cooling rate and reduces hydrogen cracking.
-
Weld the joint. Use a short, even arc. The reason is to control heat input. Long, slow beads cause distortion. Short, even beads minimize heat and keep the steel flat.
-
Grind the weld smooth. Use a flap disc to remove spatter and excess weld. The reason is to reduce stress concentrations. A rough weld acts as a crack starter.
-
Apply a sealant or primer. Use a metal primer or a flexible sealant. The reason is to prevent rust. Cut and welded edges are exposed to moisture. A primer protects the bare steel.
Common Mistakes That Damage Structural Integrity
The most common mistake is cutting a vertical rib without replacing it. The rib carries lateral load. If you cut it, the wall loses stiffness. You must add a steel angle or channel to replace the rib.
Another mistake is welding with too much heat. Excess heat warps the steel. Warped walls do not sit flush with adjacent panels. This creates gaps and leaks. Use short, even beads. Keep the arc moving.
A third mistake is ignoring the roof and floor. The wall connects to the roof and floor at the top and bottom. If you cut a wall near the top or bottom, you may weaken the connection. Reinforce the top and bottom edges with steel angles.
Verification and Inspection
After the work is done, verify the structure. Check the welds for cracks. Use a visual inspection first. Look for porosity, undercut, or incomplete fusion. If you see cracks, stop and consult a professional.
Check the alignment. The wall should be flat and true. Use a straightedge to check for warping. If the wall is warped, it may need to be straightened. Do not force it. Forceful straightening causes further damage.
Check the reinforcement. The added steel angle or channel should be firmly welded to the wall. Tap the joint with a hammer. A hollow sound may indicate a lack of fusion.
Apply a final coat of primer or paint. This protects the steel from corrosion. A container modification that is not protected will rust quickly. Rust weakens the steel and reduces the lifespan of the building.
Safety and Legal Considerations
Before you start, check local building codes. Many jurisdictions require permits for structural modifications. A container modification can change the load capacity of the building. A permit process ensures the work meets local standards.
Welding fumes are harmful. Work in a well-ventilated area. If you are inside a container, use a ventilation system that brings fresh air in and exhausts fumes out. Never weld in a sealed space.
Cutting and grinding produce sparks. Keep flammable materials away from the work area. Use a fire extinguisher nearby. Check the area for hidden flammable materials before you start.
When to Hire a Professional
Some container modification work requires a professional. If you are cutting a corner column, adding a second story, or modifying the roof, hire a structural engineer. These changes affect the overall stability of the building. A professional can design the reinforcement and verify the load capacity.
If you are not confident in your welding skills, hire a certified welder. A weak weld can fail under load. A professional welder uses the correct technique and inspection methods. The cost of a professional is often less than the cost of repairing a failed joint.
A steel container building is only as strong as its weakest modification. Take the work seriously. Verify the structure, protect the steel, and follow safety rules. A well-executed container modification extends the life of the building and keeps the occupants safe.
Frequently asked questions
Can I cut a steel container wall without reinforcement?
You can cut a small hole in a wall between ribs without reinforcement, but any cut that removes a vertical rib or spans a large section requires reinforcement. The reinforcement restores the load path and prevents warping.
What welding method is best for container modification?
MIG welding is the most common method for container modification. It is fast and produces strong joints. TIG welding is cleaner but slower. For thin steel, MIG is usually sufficient.
Do I need a permit for container modification?
It depends on local building codes. Many jurisdictions require permits for structural changes. Check with your local building department before starting. A permit ensures the work meets safety standards.
How thick is the steel on a standard container?
Standard containers have steel walls between 2 and 3 millimeters thick. The exact thickness varies by manufacturer and container type. A structural steel container may have thicker steel.
Can I use a jigsaw to cut a container wall?
Yes, a jigsaw with a metal-cutting blade is suitable for small holes. It is less precise than a plasma cutter but works well for door and window openings. Keep the blade sharp to avoid binding.