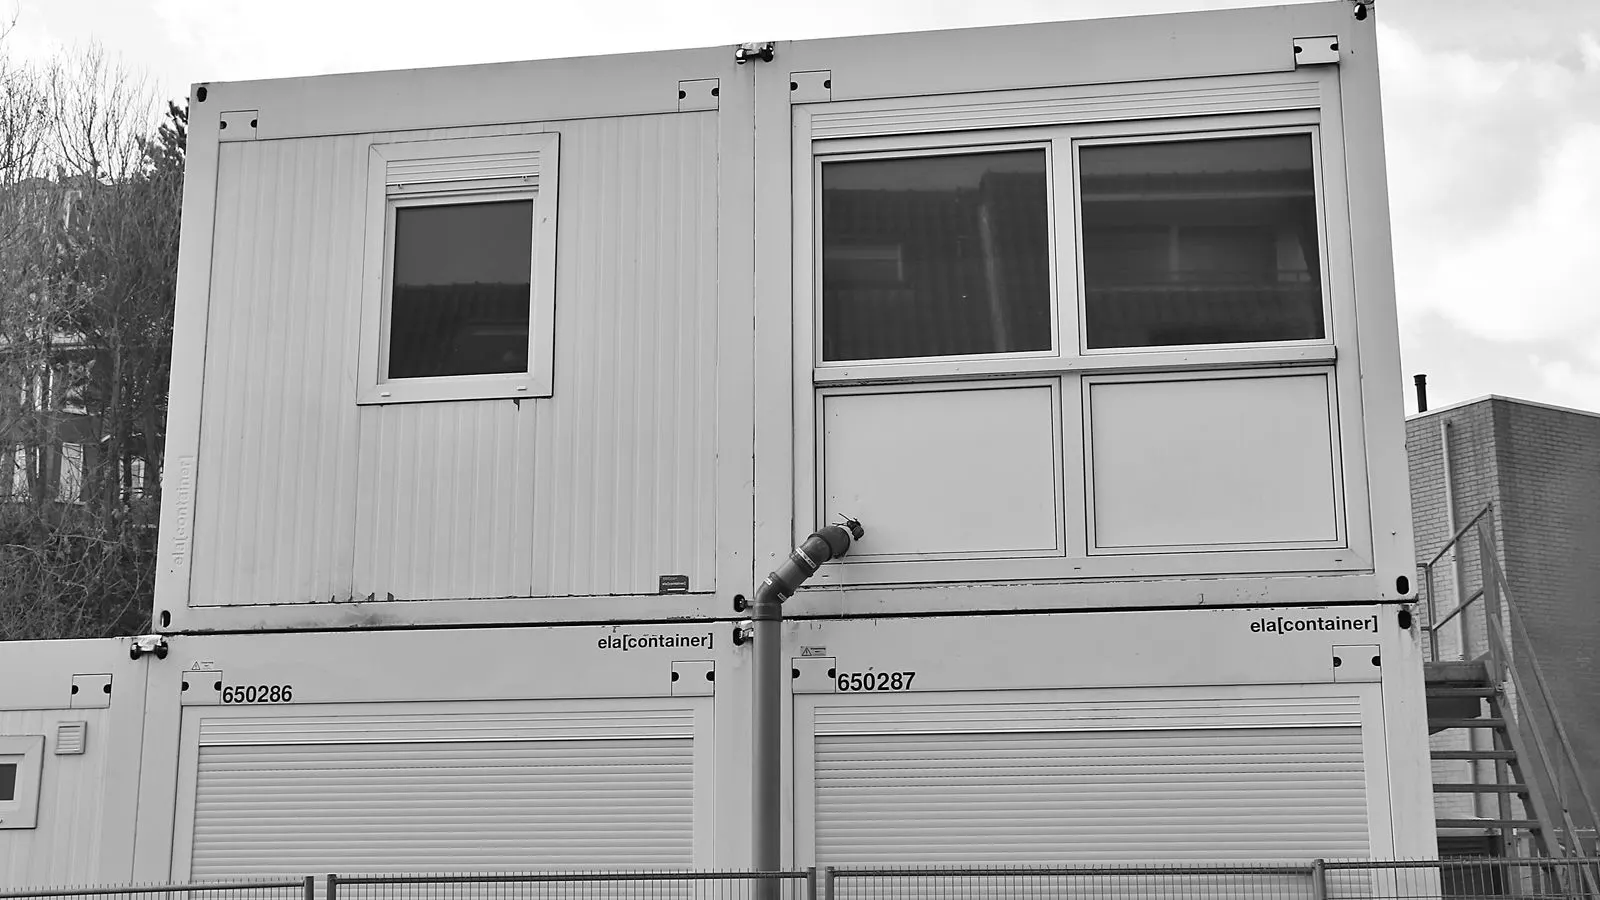
This guide provides a step-by-step audit checklist for container modification. It groups checks by theme, including structural, electrical, plumbing, and compliance. It helps buyers and engineers identify red flags before committing to a shipping container house or steel container building project.
- Verify the container's structural condition before cutting, as previous damage or corrosion can compromise load paths.
- Confirm utility access points and insulation requirements early to avoid costly rework during the build.
- Review local building codes and permit requirements before ordering materials or mobilizing labor.
- Document all pre-existing conditions with photographs to create a clear baseline for the project.
- Plan for ventilation and fire safety from the start, as these are often overlooked in early modification phases.
Modifying a shipping container into a habitable space requires careful planning. Rushing into modifications without a solid audit can lead to structural failures, failed inspections, or excessive costs. This checklist is designed for professional buyers, engineers, and contractors who need to verify readiness before mobilizing on site.
Structural Integrity Assessment
The foundation of any container house project is the structural integrity of the base unit. A steel container building must maintain its load-bearing capacity throughout the modification process. The steel shell is not merely a skin. It is the primary structural system, and every cut, weld, or penetration alters the load path. A standard 40-foot container has a specific weight rating, typically around 26 to 30 metric tons, which includes the tare weight of the steel, the floor, and the roof. When adding interior mass, the remaining capacity for dead load and live load decreases. Engineers must calculate the new load distribution before any physical work begins.
- Inspect the corner posts. Examine all four vertical corner posts for visible rust, bending, or weld cracks. Corrosion at these points can weaken the primary load path. Check for signs of previous impact damage, such as dents or punctures. Corner posts carry the bulk of the vertical load from the roof and floor. If a post is bent, the entire box may be twisted, making leveling and attachment difficult. Use a straightedge to check for bowing. Measure the diagonal lengths of the container. If the diagonals differ by more than a few millimeters, the box is out of square. This indicates a structural deformation that must be corrected before interior work starts.
- Check the floor structure. The floor must support the new loads from interior partitions, mechanical systems, and occupants. Look for sagging, rot (if applicable), or water damage. Verify that the floor is level. A sloped floor will make all subsequent work more difficult and expensive. Standard containers often have a wooden or composite subfloor over a steel deck. Check the deck itself for rust and pitting. If the subfloor is soft or spongy, remove the panels to inspect the steel joists. Water ingress through the floor is a common failure point. Look for staining or rust streaks on the underside of the floor beams.
- Evaluate the roof structure. Inspect the roof for deflection, leaks, or previous repairs. The roof must support snow loads, wind loads, and any future additions like solar panels. Check the seams and fasteners for integrity. The roof of a transport container is designed to handle stacking loads, not necessarily heavy snow or wind uplift in all regions. In high-snow areas, the roof may require reinforcement plates or additional purlins. Inspect the roof panels for flat spots. These are often signs of previous impact or poor manufacturing. Check the corner castings for cracks. These castings are critical for lifting and structural rigidity.
- Identify the container type. Determine if the unit is a standard ISO container or a structural steel container. Standard containers are designed for transport, not permanent habitation. Structural steel containers are engineered for static loads. This distinction changes the allowable modifications and the required reinforcement. A standard intermodal container has thinner wall steel, typically 1.5 to 2.5 mm. A structural container may have thicker steel, up to 3 mm or more, and additional internal framing. Check the nameplate or documentation. If the container is a “high-density” or “high-strength” model, it may have more capacity for modification.
- Check for previous modifications. Review any existing holes, welds, or attachments. Previous work may have weakened the structure or created stress concentrations. Document all existing penetrations. Common previous modifications include door cutouts, window openings, or venting for ventilation. Each hole reduces the cross-sectional area of the steel. If the hole is large, the surrounding area may need a backing plate or a welded patch. Unapproved structural penetrations are a major red flag. They indicate that the previous owner did not follow engineering protocols.
| Check Item | What to Look For | Red Flag |
|---|---|---|
| Corner Posts | Rust, bending, weld cracks | Significant corrosion or visible deformation |
| Floor Structure | Levelness, water damage, rot | Sagging, uneven surfaces, moisture stains |
| Roof Structure | Deflection, leaks, fastener integrity | Visible bowing, active leaks, missing fasteners |
| Container Type | ISO standard vs. structural | Using a standard container for heavy loads |
| Previous Mods | Holes, welds, attachments | Unapproved structural penetrations |
Utility Access and Mechanical Planning
Planning for utilities before cutting into the container prevents major rework. The location of electrical, plumbing, and HVAC systems dictates the layout of the interior. The container’s rigid geometry limits the routing of pipes and wires. You cannot simply run a pipe through a wall. You must cut a hole, seal it, and ensure it does not compromise the structural integrity. This process must be coordinated with the structural engineer.
- Map the electrical service. Identify where the main electrical service will connect. Consider the distance from the grid or a generator. Plan for conduit routing to avoid structural members. Electrical services usually enter through the floor or a side wall. If the container is on a pad, the service entrance may need to be routed from the pad to the container. Use metallic conduit for fire protection and mechanical strength. Avoid running wires through structural steel. If you must cross a beam, use a conduit sleeve or a flexible conduit that can accommodate movement. Check the amperage of the main panel. A standard container house may need 100 to 200 amps, depending on the HVAC system and appliances.
- Locate plumbing access points. Determine where water supply and waste lines will enter and exit. Standard containers do not have pre-plumbed fixtures. You must cut into the floor and walls for access. Plan these cuts carefully to avoid structural elements. Water lines should be insulated to prevent freezing in cold climates. Waste lines require a slope for gravity flow. This slope may require raising the floor or using a vented plumbing system. Plan for a cleanout access for maintenance. Use ABS or PVC for waste lines, and copper or PEX for water supply. Ensure that all penetrations are sealed with fire-rated gaskets.
- Design the ventilation system. Containers are airtight. Without proper ventilation, moisture buildup is almost certain. Plan for exhaust fans, fresh air intake, and possibly a heat recovery system. Air changes per hour (ACH) are a key metric. A habitable space typically requires 0.5 to 1.0 ACH. Calculate the volume of the interior space and determine the required airflow. Exhaust fans should be placed near moisture sources, such as bathrooms and kitchens. Fresh air intake should be placed in a central location to distribute air evenly. Consider using a heat recovery ventilator (HRV) to recover heat from exhaust air and pre-condition incoming air.
- Select the HVAC system. A standard container house needs an efficient heating and cooling system. Consider the climate zone. In cold climates, insulation and a high-efficiency heat pump are critical. In hot climates, shade and ventilation are key. The compact size of a container limits the placement of large HVAC equipment. A mini-split system is often the best choice. It has no ductwork, is compact, and is energy-efficient. If you need central air, you must plan for ductwork in the ceiling or floor. This reduces interior volume. Check the cooling capacity in BTUs or kW. A standard 40-foot container may require 12,000 to 24,000 BTUs for cooling, depending on insulation and climate.
- Plan for fire safety. Fire suppression systems are often required for multi-unit or larger containers. Plan for smoke detectors, fire extinguishers, and possibly a sprinkler system. Fire safety is not just about compliance. It is about life safety. Smoke detectors should be placed in every room and outside sleeping areas. Fire extinguishers should be accessible and appropriate for the fire class. A Class A extinguisher is for ordinary combustibles. A Class C extinguisher is for electrical fires. Plan for a fire-rated door if the container is part of a larger structure.
Insulation and Thermal Performance
Insulation is one of the most critical aspects of a shipping container house. Without it, the building will be uncomfortable and energy-inefficient. The steel shell has a high thermal conductivity. It will transfer heat rapidly from the outside to the inside. In winter, the steel will be cold to the touch. In summer, it will be hot. This makes the container a poor thermal barrier on its own. Insulation must be applied in a way that addresses this issue.
- Choose the insulation type. Common options include spray foam, rigid foam board, or mineral wool. Each has different thermal, moisture, and cost characteristics. Consider the climate and the available space. Spray foam is excellent for air sealing and has high R-value per inch. It expands to fill gaps. However, it is expensive and requires trained installers. Rigid foam board is easier to install and provides good thermal performance. It can be applied to the exterior or interior. Mineral wool is non-combustible and has good sound insulation properties. It is a good choice for fire safety. Choose based on the climate, budget, and local code requirements.
- Plan the insulation thickness. More insulation improves comfort but reduces interior volume. Determine the minimum thickness required for your climate zone. The R-value is a measure of thermal resistance. Higher R-value means better insulation. A standard 40-foot container may need 3 to 5 inches of insulation on each wall. This reduces the usable interior space by several inches on each side. Calculate the final dimensions before ordering materials. Insulation thickness also affects the structural load. Heavy insulation may require additional support.
- Address the thermal bridge. The steel structure will act as a thermal bridge, pulling heat out of the building. Plan for insulation that breaks this path, such as continuous insulation on the exterior. Thermal bridging occurs when heat flows through the structural steel, bypassing the insulation. This creates cold spots and condensation. To break the thermal bridge, apply insulation continuously over the steel frame. This is known as continuous insulation. It can be applied to the exterior or interior. Exterior insulation is often more effective because it keeps the steel at a temperature closer to the indoor temperature.
- Check the air barrier. The insulation system must also act as an air barrier. Any gaps will lead to moisture intrusion and air leakage. An air barrier prevents uncontrolled air movement between the interior and exterior. This is critical for maintaining indoor air quality and preventing moisture damage. Seal all penetrations, joints, and gaps with tape or sealant. Use a blower door test to verify the air barrier performance. A tight building envelope is essential for energy efficiency and comfort.
Building Code and Permit Compliance
Building codes vary by location. Understanding the local requirements before starting work is essential to avoid failed inspections. Codes are designed to ensure safety, health, and structural integrity. They cover many topics, from structural loads to fire safety. Non-compliance can result in fines, stop-work orders, or even demolition.
- Review local zoning laws. Confirm that a container house is allowed on the lot. Zoning may restrict height, density, or use. Zoning laws determine what can be built on a specific parcel. Some jurisdictions allow container houses as accessory buildings. Others require them to be primary residences. Check for setbacks, lot coverage, and height limits. A container may exceed the height limit for a shed or outbuilding. Verify that the container fits within the allowed footprint.
- Understand the building code. Familiarize yourself with the local building code. It will cover structural loads, fire safety, accessibility, and energy efficiency. The building code is the legal document that governs construction. It includes references to model codes, such as the International Building Code (IBC) or the International Residential Code (IRC). The structural engineer must design the modifications to meet the code requirements. This includes calculating loads, checking deflections, and ensuring fire ratings.
- Check accessibility requirements. If the building is intended for public use or has a specific occupancy, accessibility requirements may apply. Plan for door widths, ramp slopes, and bathroom fixtures. Accessibility codes require that buildings be usable by people with disabilities. This includes door widths of at least 32 inches, ramp slopes of 1:12, and turning spaces. If the container is a single-family home, accessibility may not be required, but it is a good practice. Plan for accessible fixtures and clearances.
- Obtain permits. Most jurisdictions require permits for structural modifications, electrical work, and plumbing. Start the permit process early. It can take weeks or months. Permits are required to ensure that the work is done to code. They also provide a record of the work. Without a permit, the building may not be insurable. It may also be difficult to sell. Start the permit application with the structural drawings, electrical plans, and plumbing diagrams. The local authority having jurisdiction (AHJ) will review the plans and issue a permit.
- Schedule inspections. Plan for inspections at key stages: foundation, rough-in, insulation, and final. Do not cover up work until the inspector has signed off. Inspections are a mandatory part of the permitting process. They ensure that the work is done correctly. Failure to pass an inspection can cause delays and additional costs. Schedule inspections in advance. Keep the work areas clean and accessible. The inspector will check for compliance with the approved plans and local codes.
Final Pre-Construction Verification
Before the crew arrives on site, complete a final verification pass. This step ensures that all preparations are complete and that the project can start on time. It also reduces the risk of delays and cost overruns.
- Confirm material orders. Ensure all materials are ordered and will arrive on schedule. Material delays are a common cause of project delays. Verify that the delivery dates align with the construction schedule. Check the quantities and specifications. Ensure that the materials are the correct type and size.
- Verify site access. Confirm that the site can accommodate the crane or lift equipment needed for the container. Site access is critical for safe and efficient installation. The crane must have enough clearance to lift the container and position it on the foundation. Check for overhead obstructions, such as power lines or trees. Ensure that the ground is stable enough to support the crane.
- Review the schedule. Align the construction schedule with weather, material delivery, and permit timelines. A realistic schedule is essential for a successful project. Factor in buffer time for weather delays and material shortages. The schedule should include milestones for each major task. This helps in tracking progress and identifying issues early.
- Document the baseline. Take photographs of the container in its as-found condition. This creates a record of any pre-existing damage. Baseline documentation is important for warranty claims and insurance. It also helps in identifying any issues that may arise during construction. Use a high-resolution camera and take photos of all sides, the roof, and the floor. Label each photo with a date and a description.
- Brief the crew. Ensure the construction team understands the plan, the code requirements, and the quality standards. A well-briefed crew is more likely to do quality work. Share the construction drawings, the schedule, and the safety protocols. Answer any questions the crew may have. Ensure that the crew has the necessary tools and equipment.
Pre-Construction Checklist for Container Modification
- Inspect corner posts for rust and deformation.
- Verify floor levelness and structural soundness.
- Check roof for deflection and leaks.
- Identify container type (ISO vs. structural).
- Document all previous modifications.
- Map electrical service location.
- Plan plumbing access points.
- Design ventilation and HVAC systems.
- Plan fire safety measures.
- Select insulation type and thickness.
- Address thermal bridging.
- Verify air barrier continuity.
- Review local zoning and building codes.
- Check accessibility requirements.
- Obtain necessary permits.
- Schedule inspections.
- Confirm material orders.
- Verify site access for equipment.
- Align construction schedule.
- Take baseline photographs.
- Brief the construction crew.
This checklist covers the main areas of concern. Adapt it to your specific project and local requirements. The goal is to identify and resolve issues before they become costly problems.
Frequently asked questions
What is the difference between an ISO container and a structural steel container?
An ISO container is designed for transport and is not engineered for permanent habitation. A structural steel container is built to support static loads like snow, wind, and interior finishes.
Can I cut a standard shipping container without reinforcement?
Generally, no. Cutting into a standard container can compromise its structural integrity. Reinforcement is usually required when cutting walls or floors.
How much insulation do I need for a container house?
The amount depends on your climate zone. In cold climates, you will need more insulation and a better air barrier. In mild climates, less may be sufficient.
Do container houses need a foundation?
Yes. The container needs a level, stable foundation to distribute the load. Common options include a concrete pad, piers, or a steel frame.
How long does a container modification take?
The timeline varies based on scope, permits, and weather. A basic modification might take several weeks. A full build with systems can take several months.